| 1 | # DARKMATTER |
| 2 | |
| 3 | 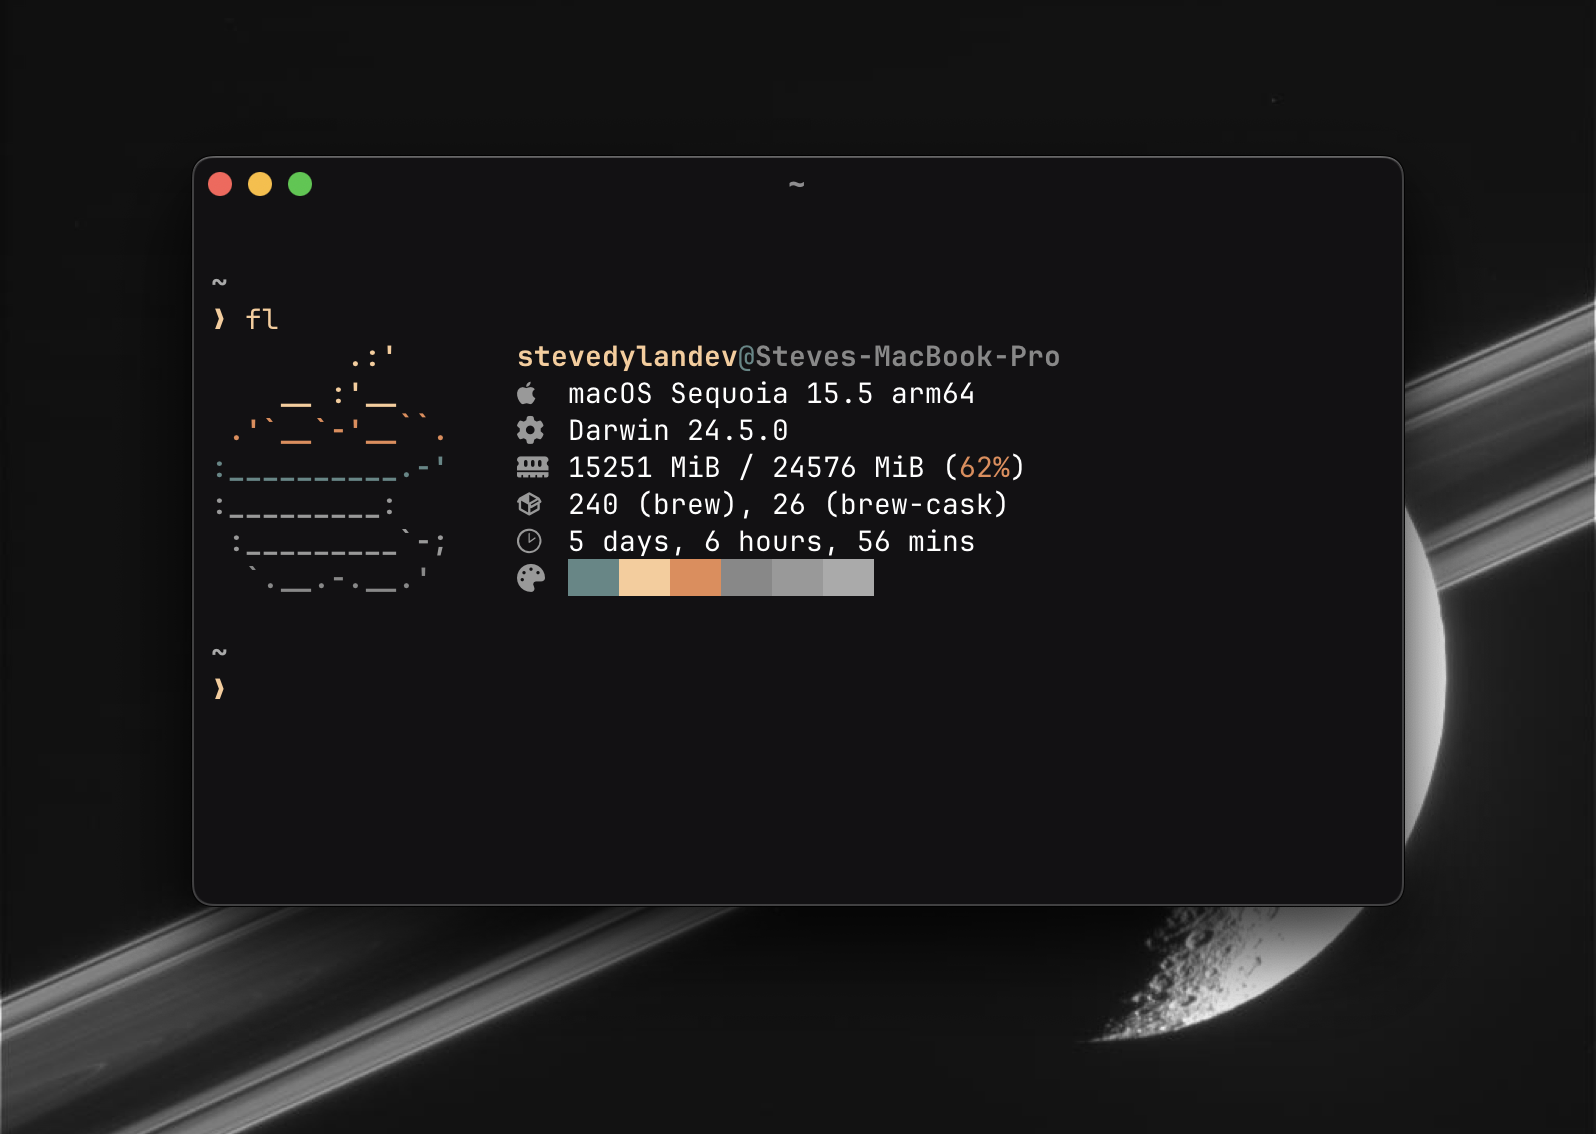 |
| 4 | |
| 5 | An opinionated terminal setup using [Ghostty](https://ghostty.org), zsh, [Starship](https://starship.rs), and [AIChat](https://github.com/sigoden/aichat) |
| 6 | |
| 7 | ## Why DARKMATTER? |
| 8 | |
| 9 | To me, the terminal has always been a sacred place. Any developer who has accomplished something in their terminal probably feels the same way. However that experience can be hampered by how it's configured. It can take a fair bit of research and time to build a setup you really enjoy, so understandably there are more developers these days turning to closed sourced VC backed solutions. DARKMATTER is my attempt to break that dependency for those who wish to take it. |
| 10 | |
| 11 | DARKMATTER is an opinionated setup of Ghostty and zsh, providing sensible defaults and maximum compatability for what developers need day to day. It also features some of my favorite terminal tools that help make your experience that much sweeter. I hope you can take this kit as a starting place and continue to modify and tweak it to your liking! |
| 12 | |
| 13 | At the moment this setup and installation flow is designed for MacOS and [Homebrew](https://brew.sh) for simplicity, but there is a [manual installation](#manual--linux-setup) flow you can follow for Linux and Windows! |
| 14 | |
| 15 | ## Features |
| 16 | |
| 17 | Below are some of the features you can get with DARKMATTER right out of the box if you install the designated packages and use the config files! |
| 18 | |
| 19 | ### AI Shell |
| 20 | |
| 21 | Through [AIChat](https://github.com/sigoden/aichat) you can have a great AI experience in your terminal. Start by running the command `ai` which will create a config and ask for your preferred provider and API key if applicable. If you want to use a local model with a tool like `ollama` use the `openai-compatible` option and use `http://localhost:11434/v1` as the base URL with no API key. |
| 22 | |
| 23 |  |
| 24 | |
| 25 | Once installed you can use AI in multiple ways in your terminal. |
| 26 | |
| 27 | Start an AI chat session, or do a single prompt |
| 28 | |
| 29 | ```bash |
| 30 | ai |
| 31 | |
| 32 | ai why is the sky blue? |
| 33 | ``` |
| 34 | |
| 35 | Have AI generate a shell command |
| 36 | |
| 37 | ```bash |
| 38 | ai -e find my current IP address |
| 39 | ``` |
| 40 | |
| 41 | Generate just code |
| 42 | |
| 43 | ```bash |
| 44 | ai -c React useEffect hook usage |
| 45 | ``` |
| 46 | |
| 47 | Feed it a file as context |
| 48 | |
| 49 | ```bash |
| 50 | ai -f src/index.ts explain this code |
| 51 | ``` |
| 52 | |
| 53 | AIChat has a lot more capabilities we can't cover here, so by all means [check out the docs](https://github.com/sigoden/aichat/wiki/Chat-REPL-Guide) for more info! |
| 54 | |
| 55 | ### Better `zsh` |
| 56 | |
| 57 | By installing `zsh-autosuggestions` and `zsh-syntax-highlighting` we're able to get a much better auto complete setup with zero zsh frameworks or package managers! |
| 58 | |
| 59 |  |
| 60 | |
| 61 | ### Better `cd` with `zoxide` |
| 62 | |
| 63 | As you use `cd` to move into different directories, zoxide will gain memory of where you've been and make it easier to navigate to it later. For example, if you used `cd ~/Desktop`, anytime after that you can just use `cd Desktop` to navigate directly to that folder, without needing the full path. You can also use partial words like `cd Desk`. |
| 64 | |
| 65 |  |
| 66 | |
| 67 | ### Better `ls` with `eza` |
| 68 | |
| 69 | `eza` provides a more visually appealing `ls` command that uses NerdFont icons from the patched [CommitMono](https://commitmono.com) font installed with your setup. |
| 70 | |
| 71 |  |
| 72 | |
| 73 | ### Better `htop` with `btop` |
| 74 | |
| 75 | Nothing is more satisfying than viewing your system processes, and there's not a better way to do that than with [`btop`](https://github.com/aristocratos/btop). For best color results, update the theme to `TTY` by hitting `ESC` then going to `Settings`. |
| 76 | |
| 77 | 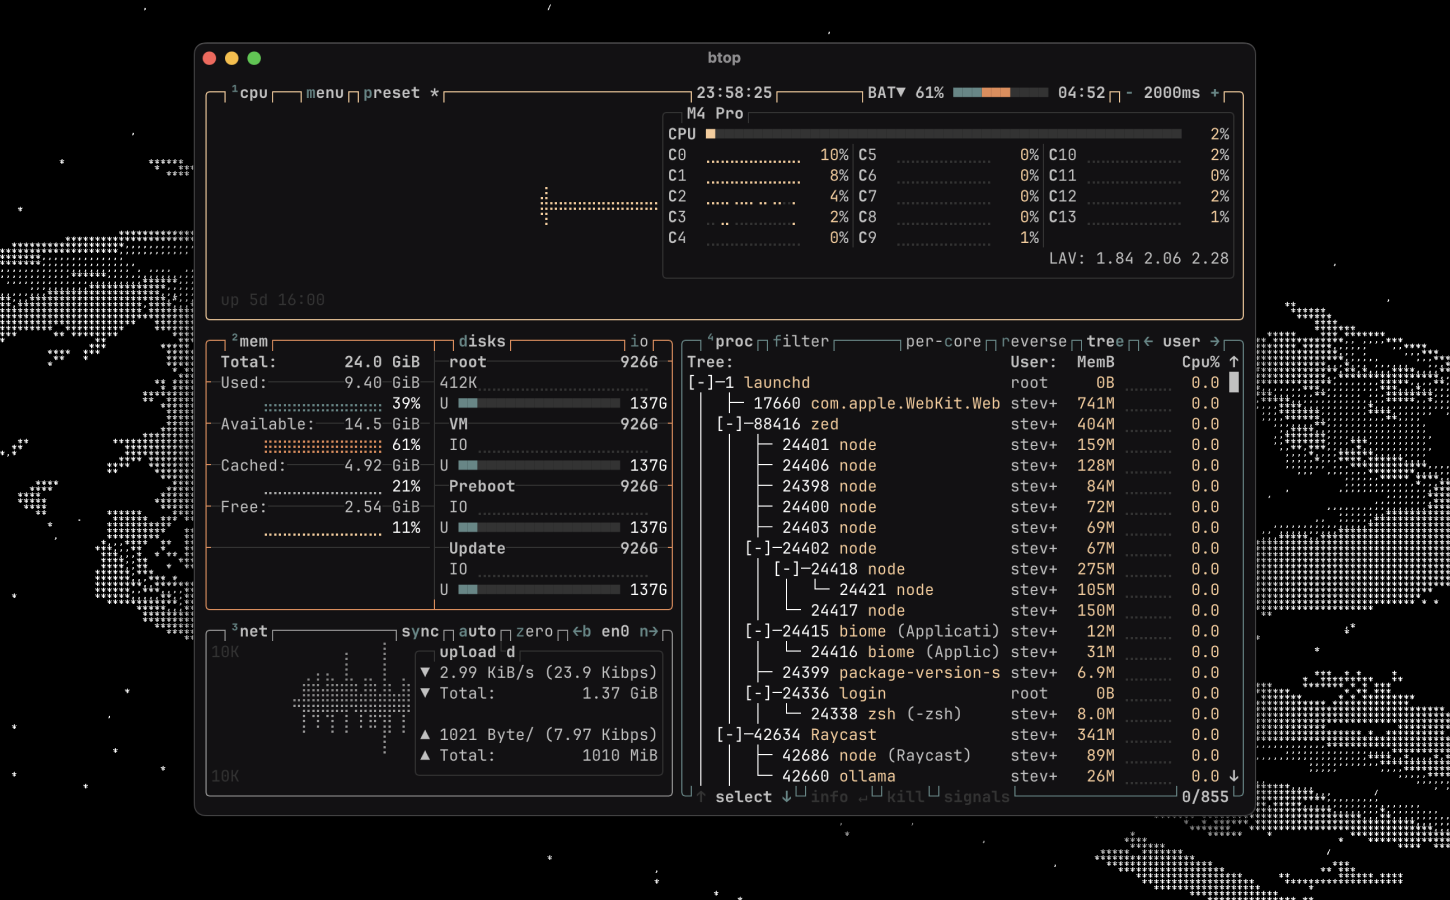 |
| 78 | |
| 79 | ## Installation |
| 80 | |
| 81 | > [!NOTE] |
| 82 | > [Homebrew](https://brew.sh) is required to use the script and instructions, feel free to use your own package manager in the manual steps! |
| 83 | |
| 84 | There are two ways you can get DARKMATTER running on your computer |
| 85 | |
| 86 | ### Install Script |
| 87 | |
| 88 | This will by far be the easiest method and the one I recommend; just copy and paste. |
| 89 | |
| 90 | ```bash |
| 91 | curl -sSL https://darkmatter.build/install.sh | bash |
| 92 | ``` |
| 93 | |
| 94 | [Install script source code](/install.sh) |
| 95 | |
| 96 | ### Manual / Linux Setup |
| 97 | |
| 98 | While the install script does help give Mac users a quickstart, you can still setup DARKMATTER manually or for Linux with a few tweaks. Just follow the instructions below! |
| 99 | |
| 100 | **1. Install Packages** |
| 101 | |
| 102 | If using MacOS you can run the following command to install the necessary dependencies |
| 103 | |
| 104 | ```bash |
| 105 | brew install zsh zsh-autosuggestions zsh-syntax-highlighting starship eza zoxide aichat btop fzf bat |
| 106 | |
| 107 | brew install --cask ghostty |
| 108 | ``` |
| 109 | |
| 110 | If you are using Linux then you can use the links below to decide how you would like to install them. Almost all of them are available on popular package managers! |
| 111 | |
| 112 | - [Ghostty](https://ghostty.org/download) |
| 113 | - [zsh-autosuggestions](https://github.com/zsh-users/zsh-autosuggestions/blob/master/INSTALL.md) |
| 114 | - [zsh-syntax-highlighting](https://github.com/zsh-users/zsh-syntax-highlighting/blob/master/INSTALL.md) |
| 115 | - [starship](https://starship.rs/#quick-install) |
| 116 | - [eza](https://github.com/eza-community/eza/blob/main/INSTALL.md) |
| 117 | - [zoxide](https://github.com/ajeetdsouza/zoxide?tab=readme-ov-file#installation) |
| 118 | - [aichat](https://github.com/sigoden/aichat?tab=readme-ov-file#install) |
| 119 | - [btop](https://github.com/aristocratos/btop?tab=readme-ov-file#installation) |
| 120 | - [fzf](https://github.com/junegunn/fzf?tab=readme-ov-file#installation) |
| 121 | - [bat](https://github.com/sharkdp/bat) |
| 122 | |
| 123 | **2. Setup zsh** |
| 124 | |
| 125 | Create a file in your home directory called `.zshrc` with the following contents |
| 126 | |
| 127 | ```bash |
| 128 | # history setup |
| 129 | HISTFILE=$HOME/.zhistory |
| 130 | SAVEHIST=1000 |
| 131 | HISTSIZE=999 |
| 132 | setopt share_history |
| 133 | setopt hist_expire_dups_first |
| 134 | setopt hist_ignore_dups |
| 135 | setopt hist_verify |
| 136 | |
| 137 | # completion using arrow keys (based on history) |
| 138 | bindkey '^[[A' history-search-backward |
| 139 | bindkey '^[[B' history-search-forward |
| 140 | |
| 141 | # completion using vim keys |
| 142 | bindkey '^k' history-search-backward |
| 143 | bindkey '^j' history-search-forward |
| 144 | |
| 145 | # Source zsh plugins |
| 146 | # If you are not using MacOS / Homebrew make sure to adjust per the instructions for each tool |
| 147 | source $(brew --prefix)/share/zsh-autosuggestions/zsh-autosuggestions.zsh |
| 148 | source $(brew --prefix)/share/zsh-syntax-highlighting/zsh-syntax-highlighting.zsh |
| 149 | |
| 150 | # Alias / keyboard shortcuts |
| 151 | alias cd="z" |
| 152 | alias ls="eza --icons=always" |
| 153 | alias ai="aichat" |
| 154 | |
| 155 | # Exports |
| 156 | export BAT_THEME="ansi" |
| 157 | |
| 158 | # Setup zoxide and starship |
| 159 | eval "$(zoxide init zsh)" |
| 160 | eval "$(starship init zsh)" |
| 161 | ``` |
| 162 | |
| 163 | **3. Setup Ghostty** |
| 164 | |
| 165 | If it's not already there, create a text file at `~/.config/ghostty/config` with the following contents |
| 166 | |
| 167 | ``` |
| 168 | font-family = CommitMono Nerd Font |
| 169 | font-family-bold = CommitMono Nerd Font |
| 170 | font-family-italic = CommitMono Nerd Font |
| 171 | font-family-bold-italic = CommitMono Nerd Font |
| 172 | font-size = 14 |
| 173 | |
| 174 | confirm-close-surface = false |
| 175 | clipboard-read = allow |
| 176 | clipboard-write = allow |
| 177 | mouse-hide-while-typing = true |
| 178 | window-padding-x = 6 |
| 179 | window-padding-balance = true |
| 180 | window-save-state = always |
| 181 | window-width = 85 |
| 182 | window-height = 30 |
| 183 | |
| 184 | background = #121113 |
| 185 | foreground = #ffffff |
| 186 | |
| 187 | selection-background = #222222 |
| 188 | selection-foreground = #000000 |
| 189 | |
| 190 | palette = 0=#121113 |
| 191 | palette = 1=#5f8787 |
| 192 | palette = 2=#fbcb97 |
| 193 | palette = 3=#e78a53 |
| 194 | palette = 4=#888888 |
| 195 | palette = 5=#999999 |
| 196 | palette = 6=#aaaaaa |
| 197 | palette = 7=#c1c1c1 |
| 198 | palette = 8=#333333 |
| 199 | palette = 9=#5f8787 |
| 200 | palette = 10=#fbcb97 |
| 201 | palette = 11=#e78a53 |
| 202 | palette = 12=#888888 |
| 203 | palette = 13=#999999 |
| 204 | palette = 14=#aaaaaa |
| 205 | palette = 15=#c1c1c1 |
| 206 | |
| 207 | auto-update-channel = stable |
| 208 | click-repeat-interval = 500 |
| 209 | ``` |
| 210 | |
| 211 | **4. Install CommitMono** |
| 212 | |
| 213 | DARKMATTER uses a open sourced font called [CommitMono](https://commitmono.com) and in this repo you can download special Nerd Font patched versions of it, which include nice icons used by several of the programs already installed. Check them out in the [`assets`](/assets) folder in this repo. |
| 214 | |
| 215 | **5. Open Ghostty!** |
| 216 | |
| 217 | After following these steps you should be able to open Ghostty and you will have the DARKMATTER setup |
| 218 | |
| 219 | ## Themes |
| 220 | |
| 221 | DARKMATTER comes with it's own custom theme that I modeled after my favorite theme of all time, Black Metal Bathory. Thankfully Ghostty comes with hundreds of themes you can choose from; just run the following command to see them all! |
| 222 | |
| 223 | ```bash |
| 224 | ghostty +list-themes |
| 225 | ``` |
| 226 | |
| 227 | This will let you preview any theme available in Ghostty, and when you've found the one you want, simply update the `~/.config/ghostty/config` file with the `theme` property. So if you wanted `catppuccin-mocha` you would use the following |
| 228 | |
| 229 | ``` |
| 230 | theme = catppuccin-mocha |
| 231 | ``` |
| 232 | |
| 233 | Also make sure to delete the custom color config that came with DARKMATTER. |
| 234 | |
| 235 | > [!NOTE] |
| 236 | > For more info on how to use Ghostty themes or Ghostty in general [check out the docs](https://ghostty.org/docs) |
| 237 | |
| 238 | ## Prompt |
| 239 | |
| 240 | For those who may not know, the prompt is what the terminal greets you with. DARKMATTER uses [Starship](https://starship.rs) as it includes a wonderful default setup but also allows for deep customization. An easy way to change it is to check out the [presets list](https://starship.rs/presets/#presets) in the Starship docs. |
| 241 | |
| 242 |  |
| 243 | |
| 244 | > [!NOTE] |
| 245 | > For more info on customizing your prompt [check out the docs](https://starship.rs) |
| 246 | |
| 247 | ## Ports |
| 248 | |
| 249 | Darkmatter is a theme I'm slowly building out into other ports, check them out here! |
| 250 | |
| 251 | - [Zed](https://github.com/stevedylandev/darkmatter-zed) |
| 252 | - [Neovim](https://github.com/stevedylandev/darkmatter-nvim) |
| 253 | |
| 254 | ## Questions |
| 255 | |
| 256 | Feel free to open an issue or [send me a message](https://stevedylan.dev/links)! |