| 1 | # Netlify |
| 2 | |
| 3 | One of the classic static site providers still gives developers a great experience for deploying sites, including your bhvr client! There are multiple ways you can deploy your client package to Netlify: |
| 4 | - Netlify CLI |
| 5 | - Git Provider |
| 6 | |
| 7 | ## CLI Method |
| 8 | |
| 9 | The Netlify CLI will help setup a new project on Netlify and create Git webhooks so with every push it will deploy a new version automatically. To enable this for your bhvr project follow these steps. |
| 10 | |
| 11 | ::::steps |
| 12 | |
| 13 | ### Install `netlify-cli` |
| 14 | |
| 15 | Install the `netlify-cli` globally so you can use it with your projects |
| 16 | |
| 17 | ```bash [terminal] |
| 18 | bun add -g netlify-cli |
| 19 | ``` |
| 20 | |
| 21 | ### Run Initialization |
| 22 | |
| 23 | Move into the `client` package and run the initialization commmand to setup a new project |
| 24 | |
| 25 | ```bash [terminal] |
| 26 | cd client |
| 27 | ntl init |
| 28 | ``` |
| 29 | |
| 30 | Make sure when setting up the project that the `Directory to Deploy` is `dist` |
| 31 | |
| 32 | ```bash [terminal] |
| 33 | ? Base directory `(blank for current dir): client |
| 34 | ? Your build command (hugo build/yarn run build/etc): bun run build |
| 35 | ? Directory to deploy (blank for current dir): dist |
| 36 | ``` |
| 37 | |
| 38 | ### Deploy |
| 39 | |
| 40 | If you setup the Git provider connection offered through the CLI you can just push commits and it will deploy instances. You can also do it through the CLI through the following command in the `client` package: |
| 41 | |
| 42 | ```bash [terminal] |
| 43 | ntl deploy |
| 44 | ``` |
| 45 | |
| 46 | If you want to deploy to production use the `--prod` flag |
| 47 | |
| 48 | ```bash [terminal] |
| 49 | ntl deploy --prod |
| 50 | ``` |
| 51 | |
| 52 | :::: |
| 53 | |
| 54 | ## Git Provider |
| 55 | |
| 56 | If you prefer a flow similar to something like Vercel where you get deployments on commits you can use the Git provider flow |
| 57 | |
| 58 | ::::steps |
| 59 | |
| 60 | ### Start Project |
| 61 | |
| 62 | From the Projects dashboard click on the `Add new project` button in the top right and select the `Import an existing project` option. |
| 63 | |
| 64 | 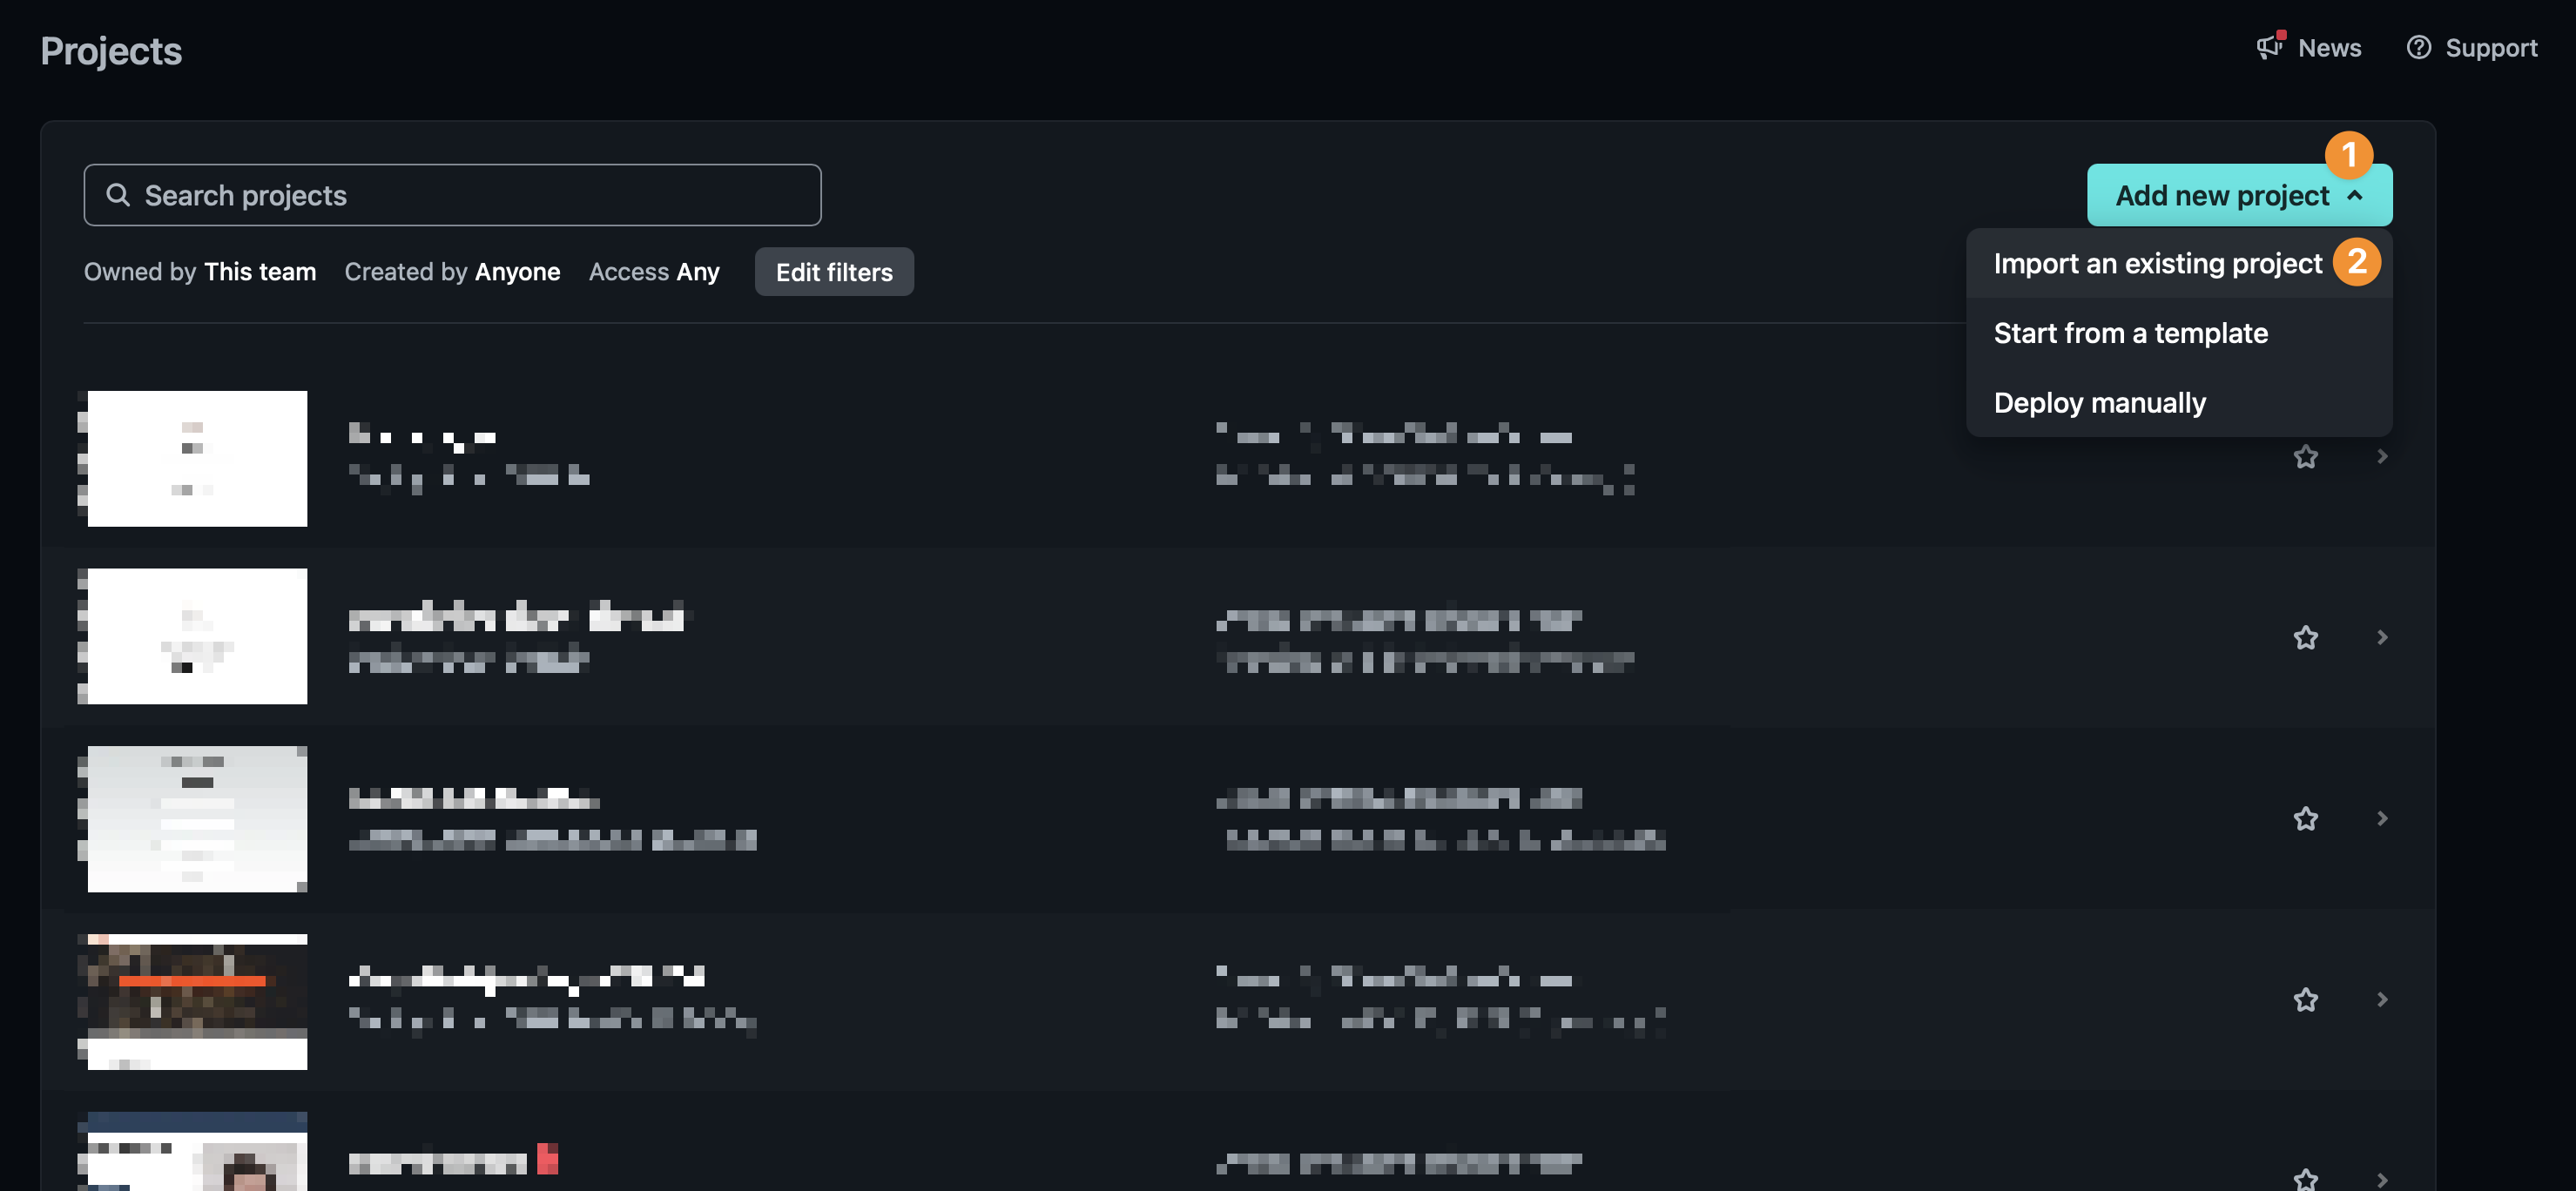 |
| 65 | |
| 66 | Connect with your Git provider and locate your bhvr project |
| 67 | |
| 68 | ### Confirm Build Settings |
| 69 | |
| 70 | After selecting your project make sure the build settings are correct. Generally these are ready out of the box as Netlify will detect what you need. |
| 71 | |
| 72 | 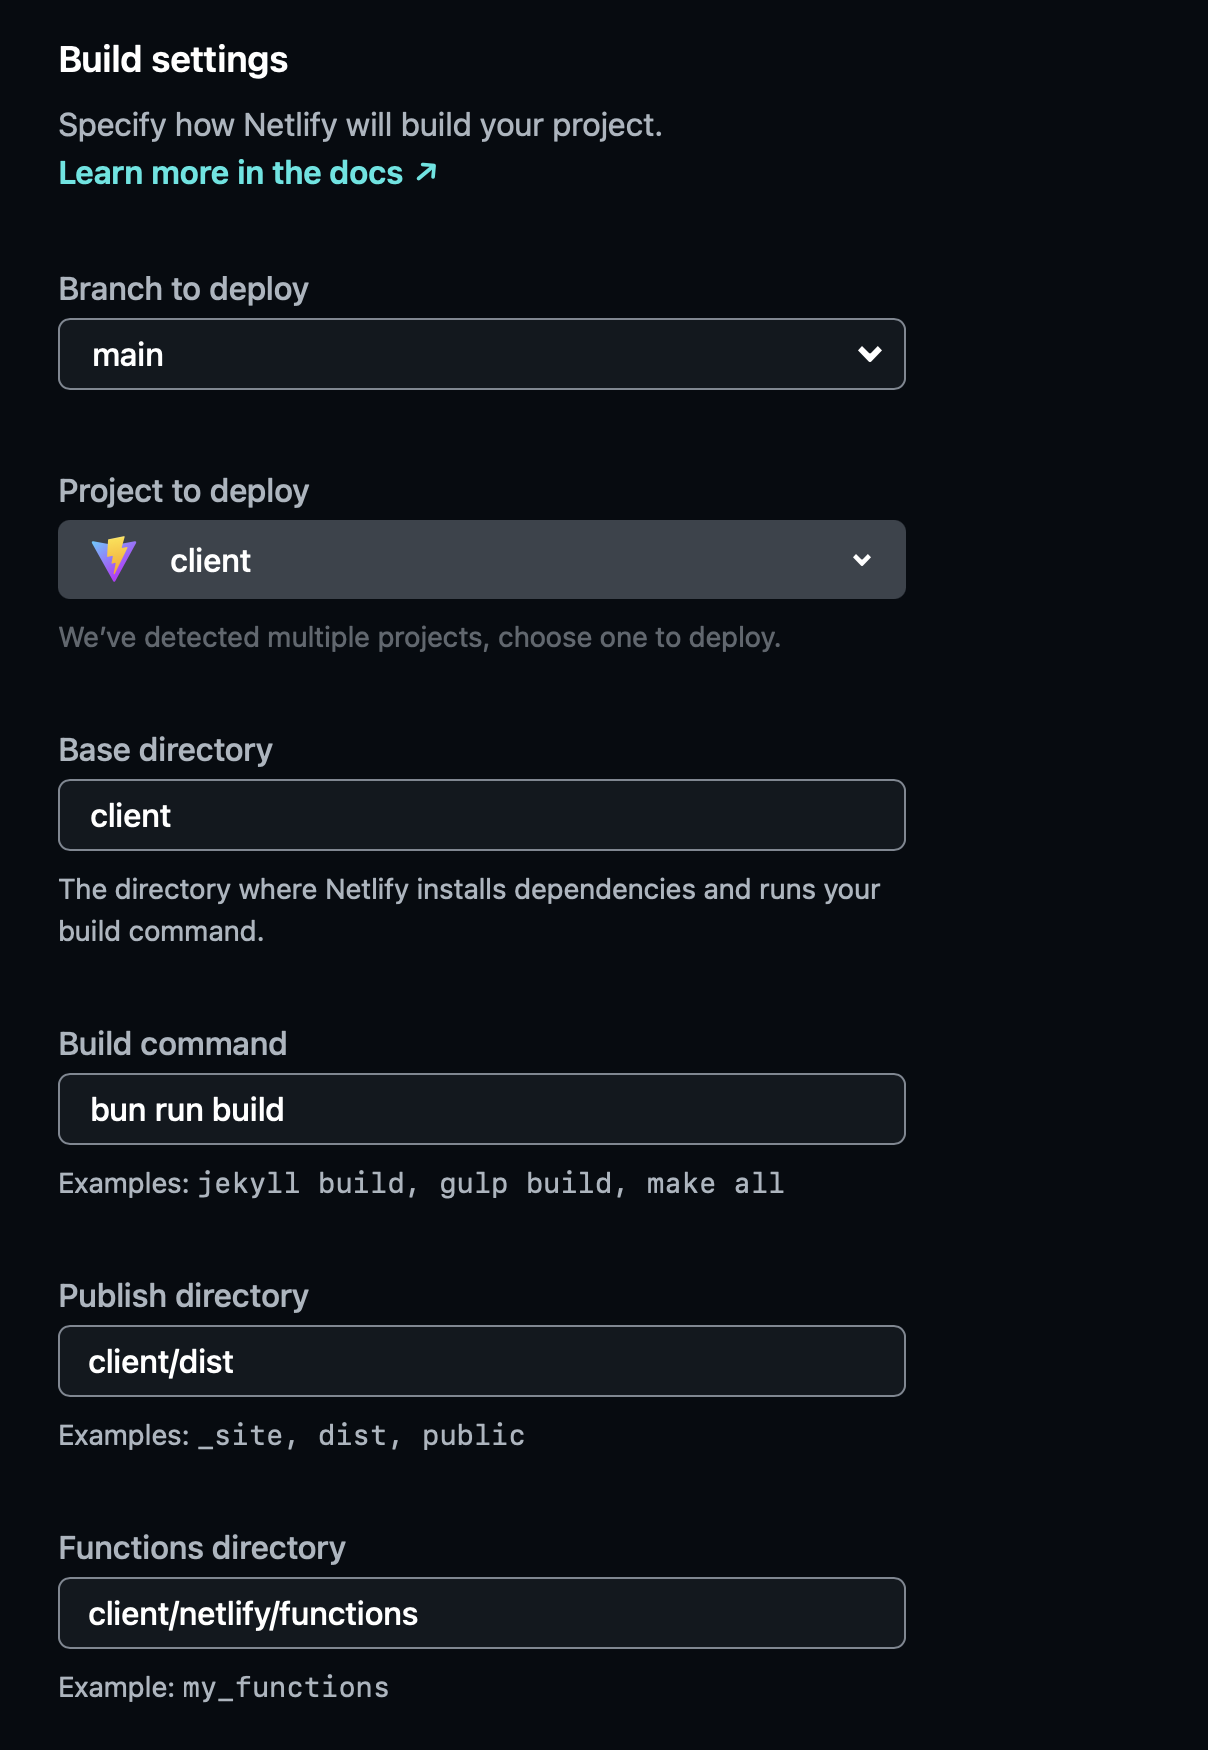 |
| 73 | |
| 74 | |
| 75 | ### Deploy |
| 76 | |
| 77 | After confirming the settings Netlify should deploy a new instance with a URL you can visit! |
| 78 | |
| 79 | 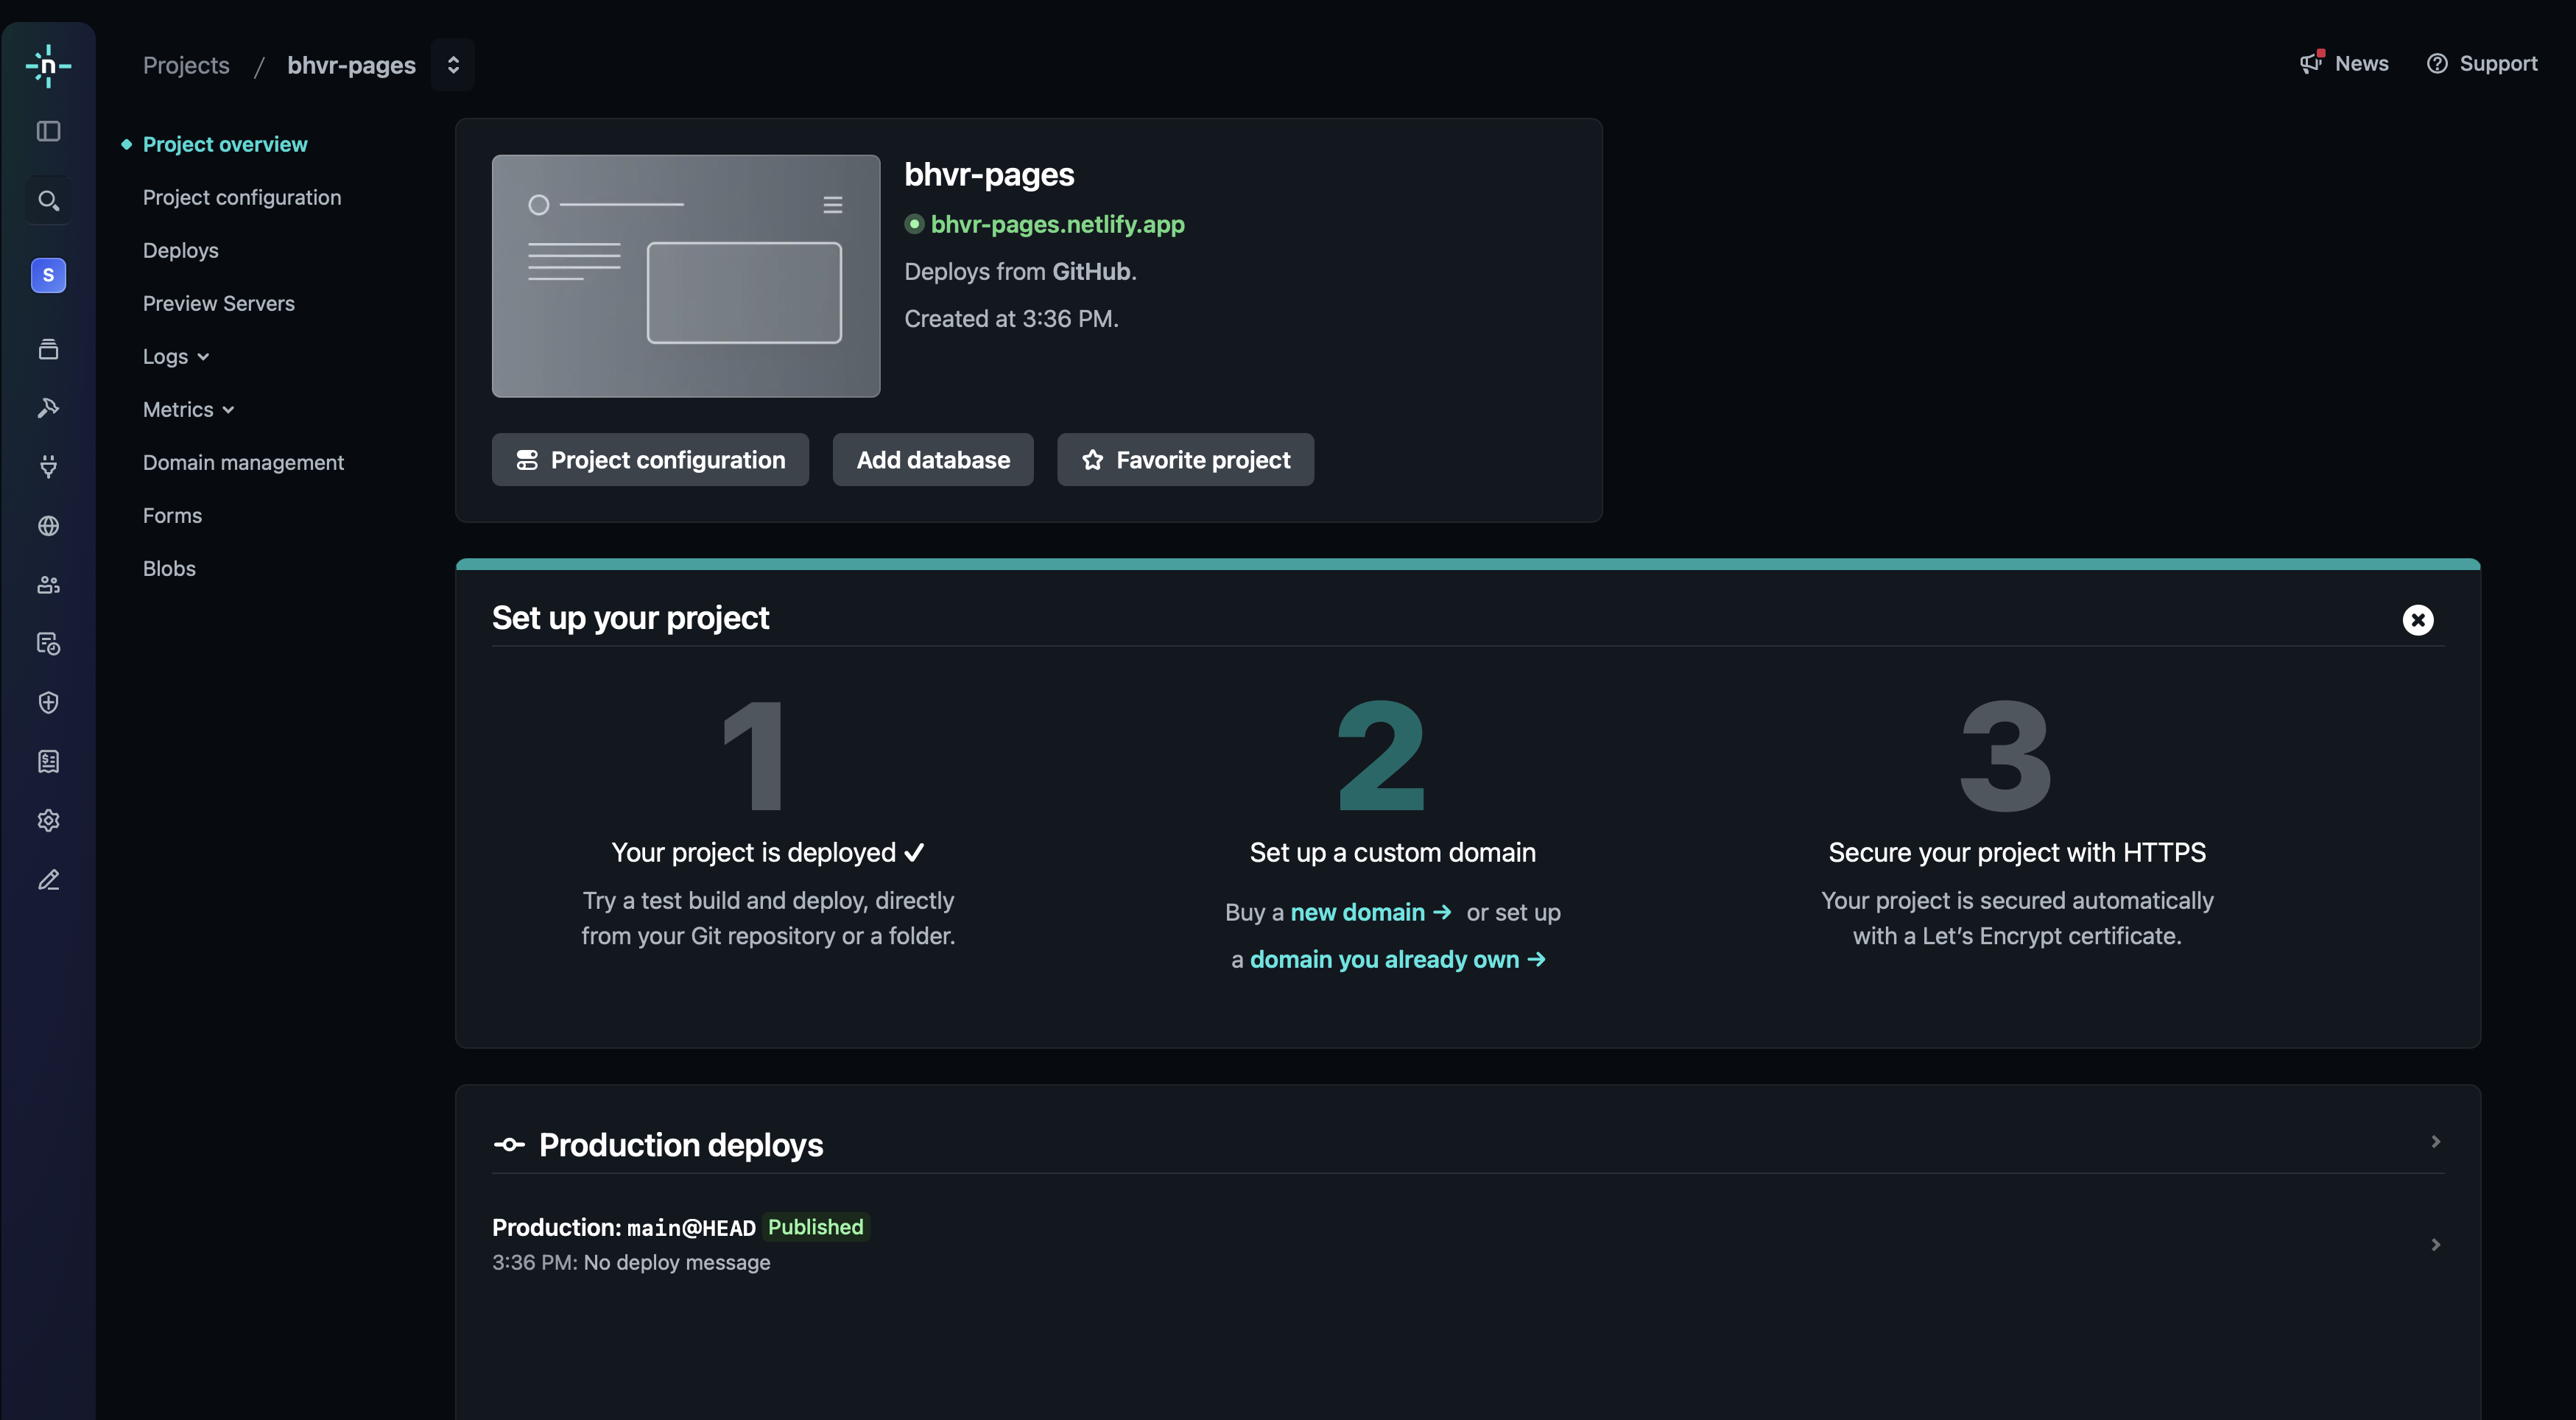 |
| 80 | |
| 81 | :::: |
| 82 | |
| 83 | ::::tip |
| 84 | [Check out the Vite Docs for more info and tips](https://vite.dev/guide/static-deploy#github-pages) |
| 85 | :::: |